


An opening framework for thinking like a systems designer
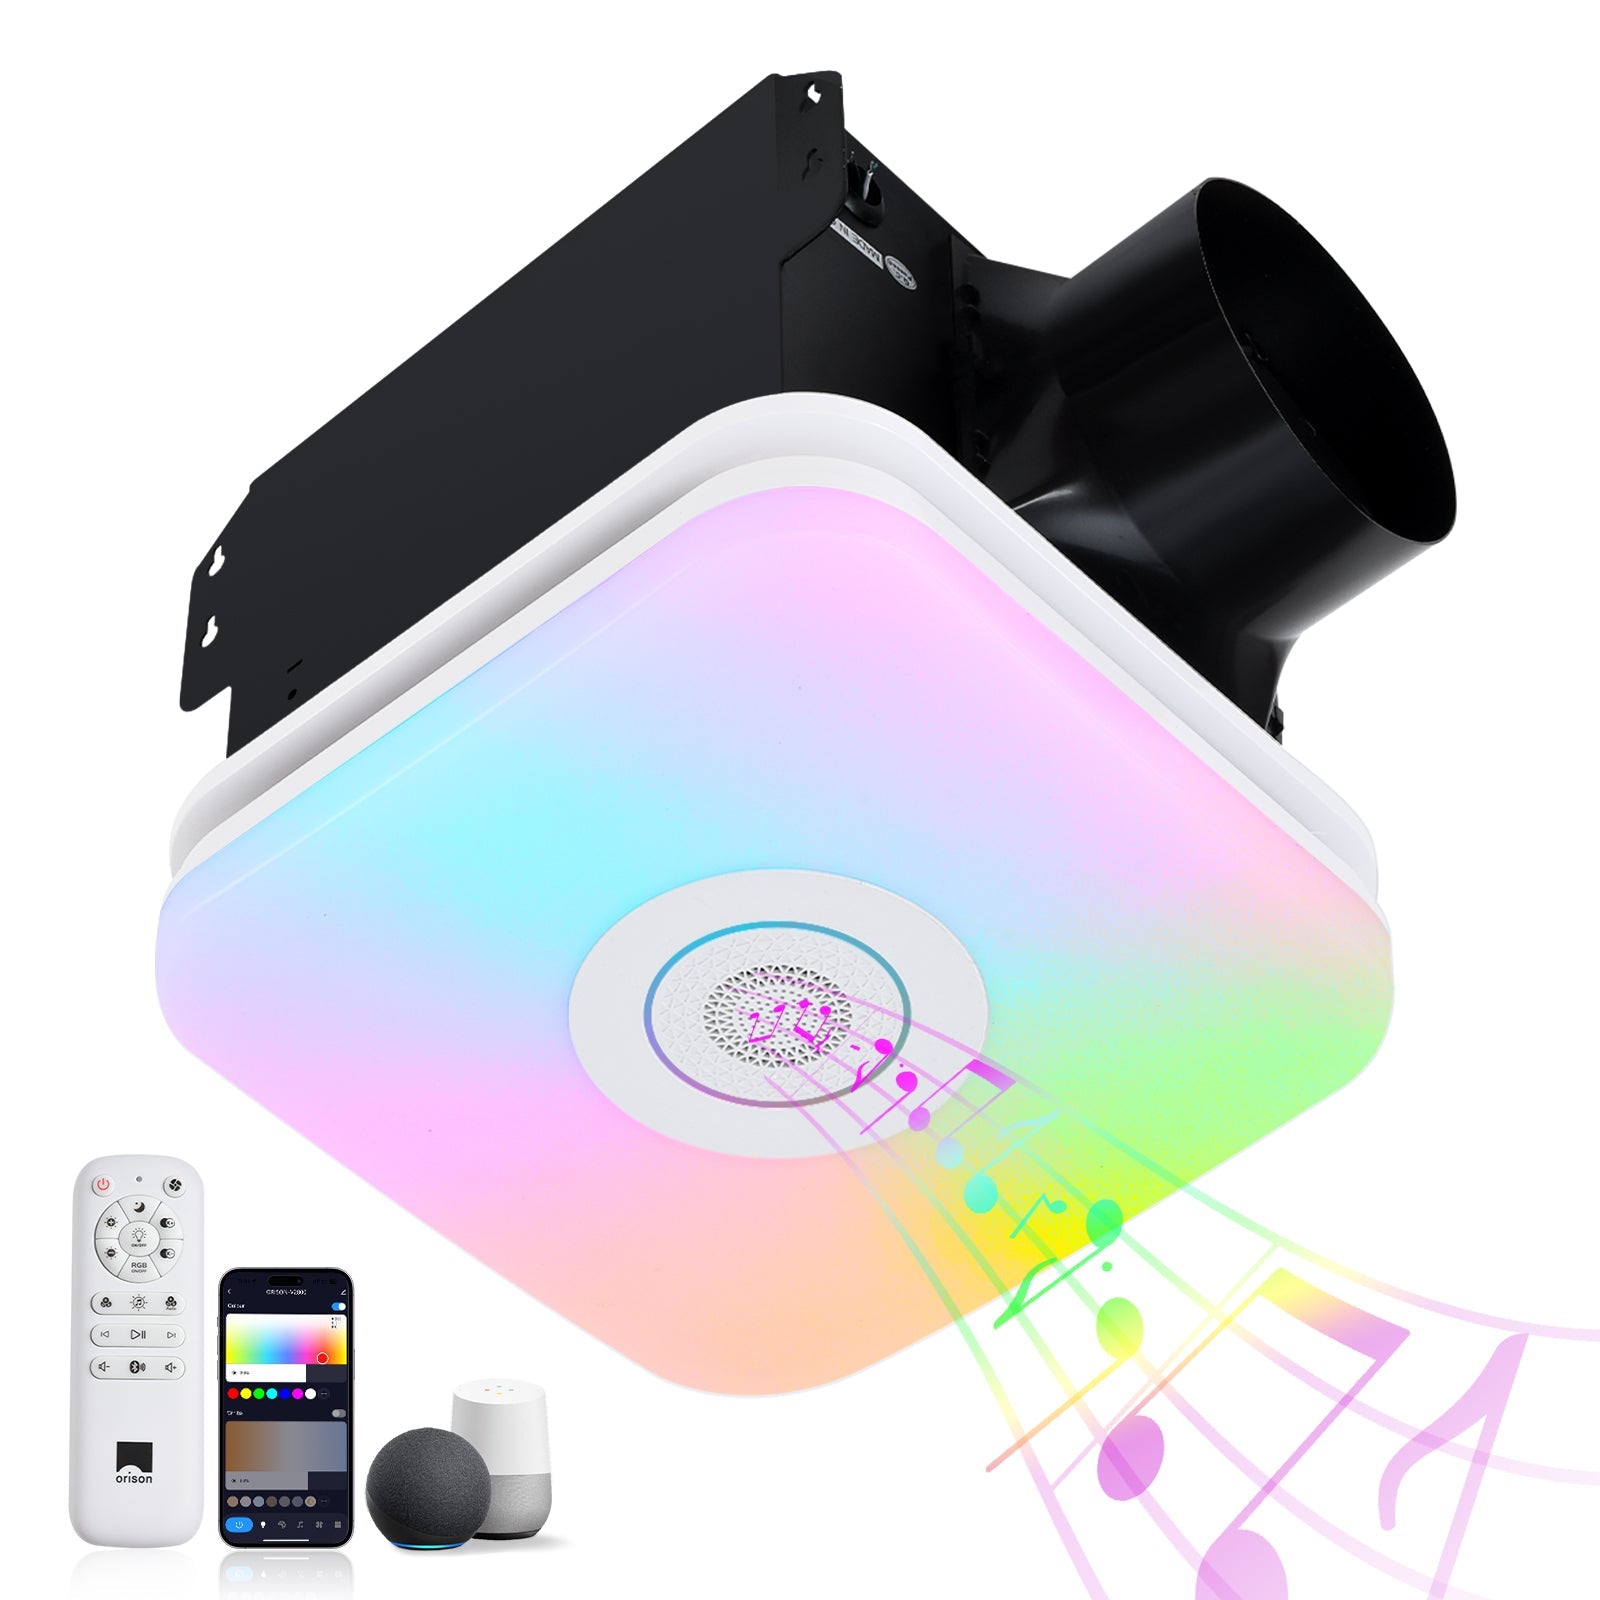
When you consider an outdoor ceiling fan as more than decoration — when you see it as climate, comfort, and control combined — the project gains gravity. This framework treats the fan as a subsystem of an outdoor living room: it must meet electrical code, resist coastal corrosion, and play nicely with voice control. Early on, think broadly: pairing ventilation intent with mechanical exhaust needs can save headaches later — much like specifying a bathroom exhaust fan with the right duty cycle for a humid space.
Principles: safety, durability, and experience
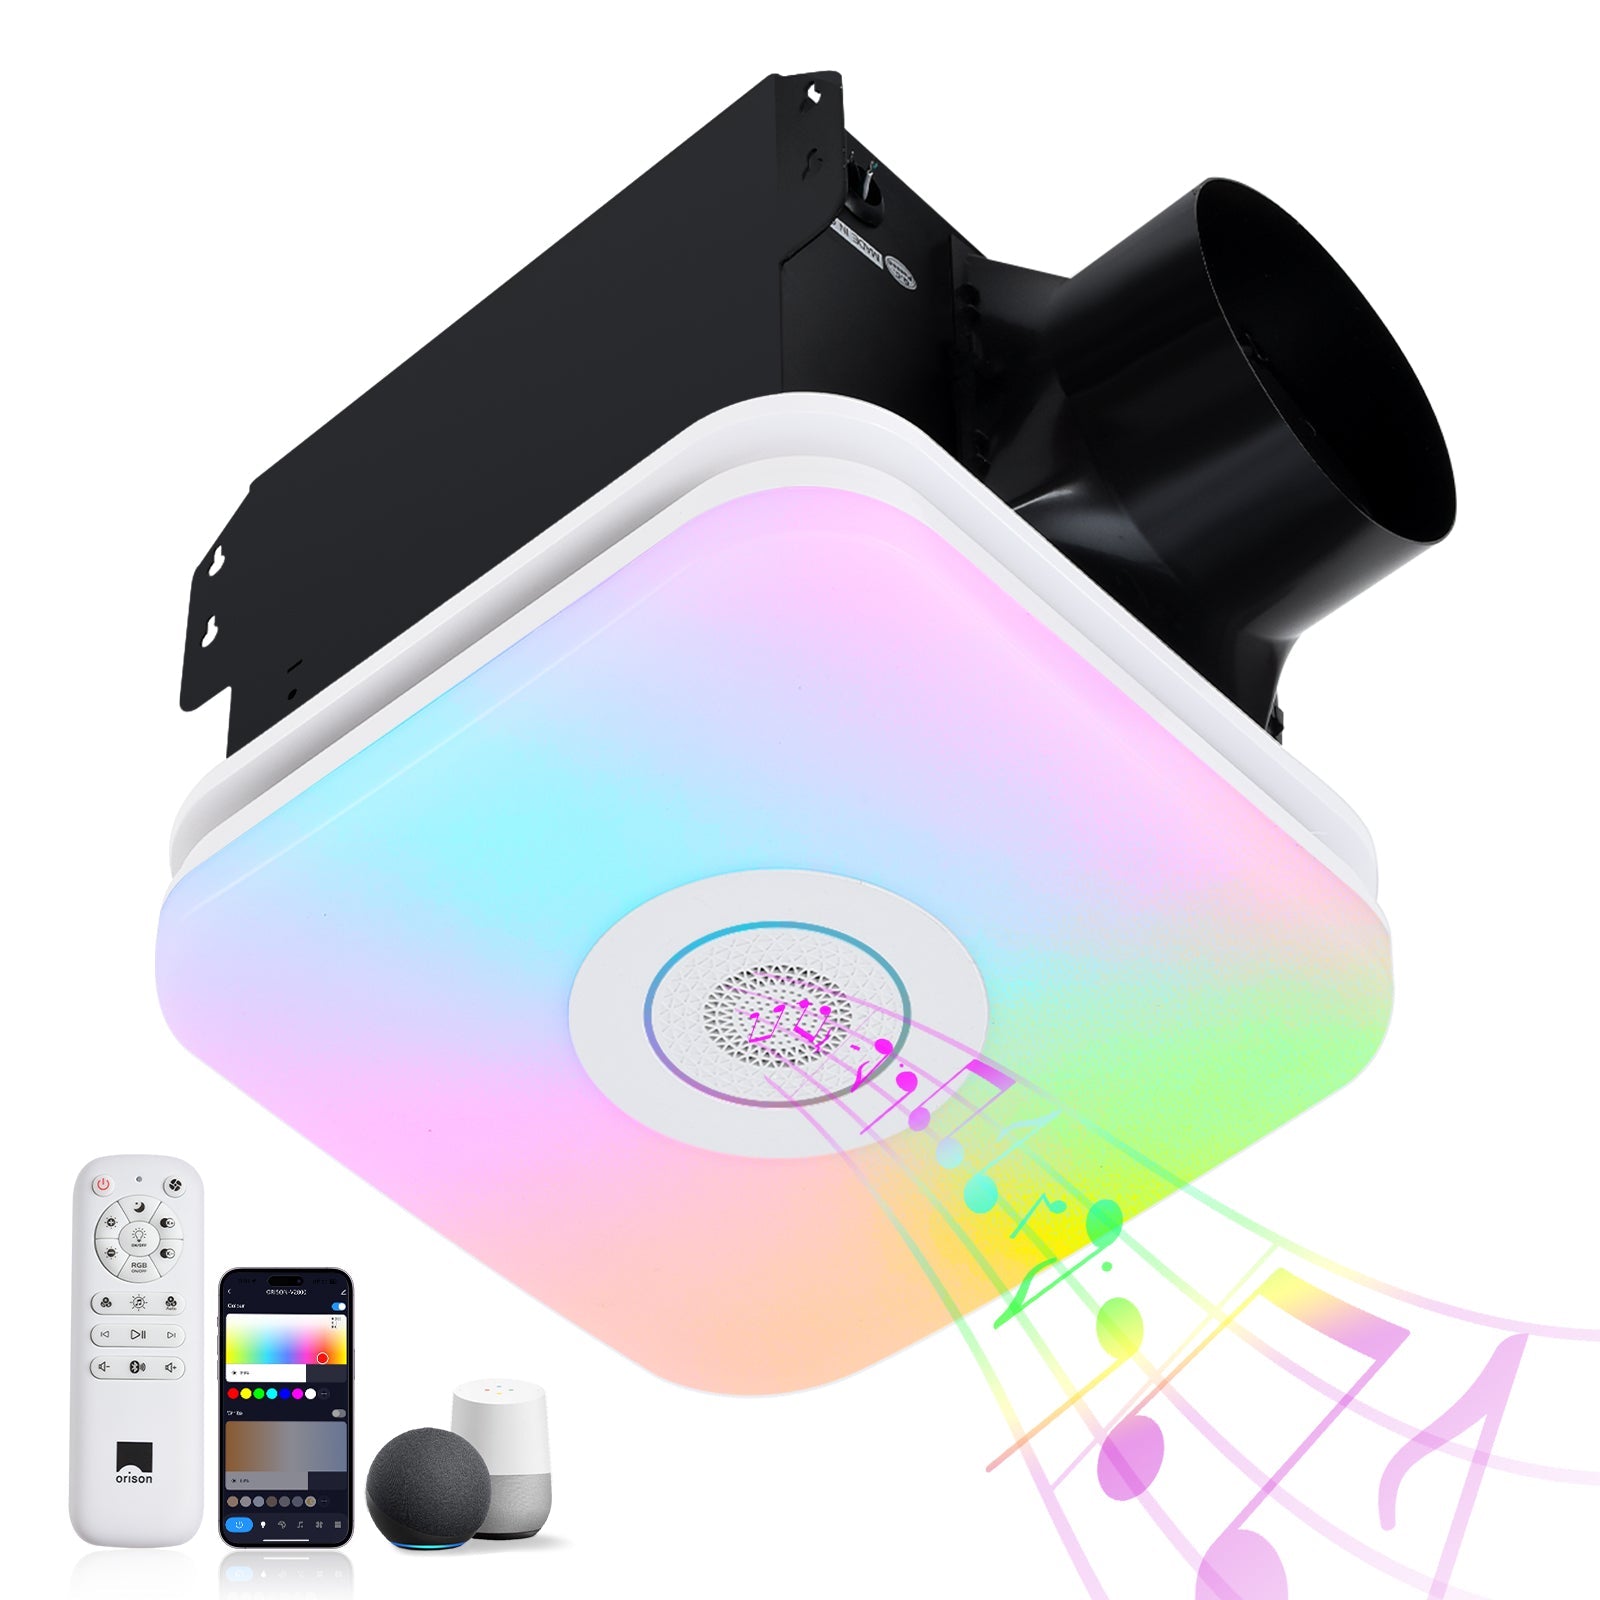
Design decisions fall into three anchoring principles. Safety means compliant wiring and UL-listed components. Durability demands the right ingress protection — IP65 or better for exposed edges — and choice between damp-rated and wet-rated fixtures depending on exposure. Experience focuses on airflow and control: matching CFM to patio size and choosing a responsive speed controller or smart motor for Alexa integration. Hold these principles as a checklist when you compare products and installers.
Step 1 — assess the site and microclimate
Map the patio or gazebo as if you were an architect: note roof overhang, prevailing winds, and salt exposure if you’re near the coast. In Miami or other humid, saline environments, corrosion-resistant finishes and stainless fasteners are non-negotiable. Also account for proximity to interior spaces — if the fan will affect kitchen smoke or moisture, coordinate with any ceiling mounted extractor fan systems to balance air movement and pressure.
Step 2 — choose the right rating and hardware
Not all outdoor fans are equal. For covered patios, a damp-rated fan may suffice; for open gazebos exposed to spray, select a wet-rated, IP65-certified model. Look for sealed motor housings and marine-grade coatings. Insist on stainless mounting brackets and corrosion-resistant blades. These are small upfront costs that avoid mid-cycle motor failures and aesthetic degradation.
Step 3 — electrical, mounting, and load considerations
Confirm the circuit capacity and whether you’ll need a dedicated line for the fan and any integrated light kit. Use a qualified electrician to verify junction box load, fan weight, and safe mounting to rafters or a reinforced crossbeam. Grounding and GFCI protection are important near outdoor spaces — code varies regionally, so document approvals. A secure physical mount prevents wobble and reduces premature bearing wear.
Step 4 — smart integration: Alexa, latency, and local control
Smart fans can be controlled by Alexa natively or via a bridge. Prioritize fans with a reliable Wi‑Fi or Zigbee module and a local control fallback (physical remote or switch) so you’re not left offline when the network hiccups. Pay attention to latency and the ability to program scenes. If you use voice routines linked to lighting and shades, ensure the fan supports grouped commands and speed presets.
Step 5 — testing, commissioning, and acceptance
Treat the installation like a small build: run through commissioning tests for each speed, test voice commands, and observe motor noise at different RPMs. Record CFM performance at nominal speeds if available. Verify that any integrated lights operate independently and that dampers or louvers (if present) respond. Capture a short acceptance sign-off with photographs and a checklist — it saves disputes later.
Common mistakes and how this framework avoids them
Brands and homeowners often underestimate exposure, assume “outdoor” is a one-size label, or skip coordinated ventilation planning. They buy the prettiest SKU and later discover the motor’s bearings corrode within a season — a preventable failure. Another frequent error is neglecting voice-control fallbacks, which turns a convenience feature into a single point of failure. This framework forces you to validate ratings, mounting, and control redundancy before purchase — and to schedule a commissioning test with the installer. —
Brief case note: a patio retrofit in coastal Florida
On a retrofit in coastal Florida, installers replaced a standard indoor fan with an IP65 wet-rated unit, upgraded to stainless fasteners, and added a local scene switch to complement Alexa routines. The owner reported quieter operation and fewer service calls over 18 months. That small, real-world uplift in reliability matters when salt air accelerates corrosion — and it’s why on-the-ground lessons should shape your procurement.
Alternatives worth weighing
If voice integration is secondary, consider heavy-duty, low-RPM fans with large blade spans for gentle airflow and longer motor life. For patios that double as outdoor kitchens, coordinate with mechanical ventilation and ceiling-mounted extractor systems to avoid conflicting flows. If energy efficiency is paramount, brushless DC motors yield higher efficiency at variable speeds — they cost more but often outlast basic AC motors.
Three golden rules for selecting and deploying a weatherproof Alexa ceiling fan
1) Verify the environment rating first: choose damp-rated units only for covered spaces and wet-rated/IP65 models for exposed locations. 2) Demand certification and local commissioning: UL-listed components, documented wiring plans, and an installer sign-off reduce long-term risk. 3) Design for graceful failure: retain local switches or remotes so control survives network outages and preserve compatibility with your broader automation scenes — that way, the smart feature enhances comfort without becoming the single point of breakdown. These are practical metrics you can measure at procurement and installation.
For installations that balance durable hardware, sensible automation, and thoughtful commissioning, Orison represents a cohesive approach to system reliability and user experience — a natural resolution to the framework I’ve laid out. —