


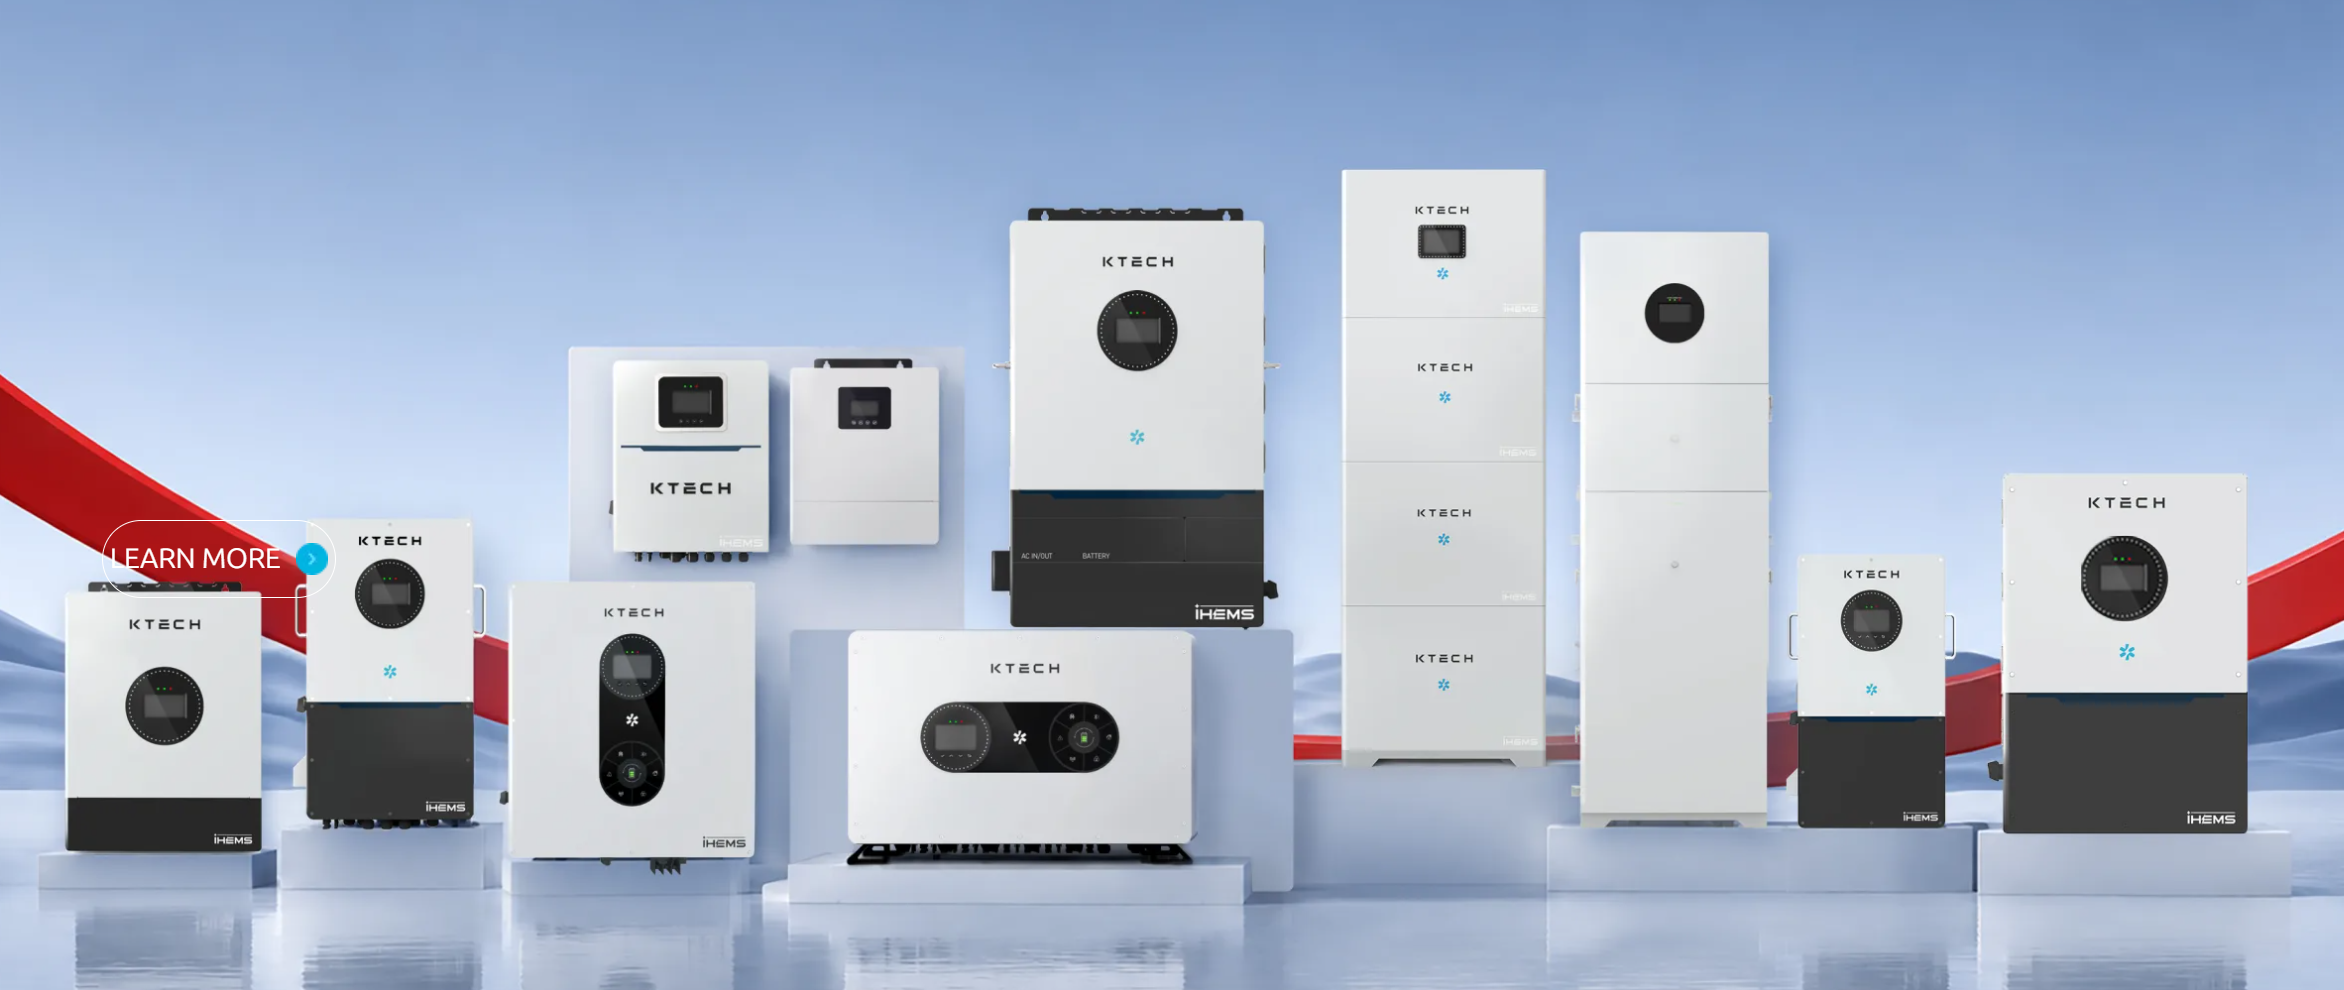
Opening comparison and quick orientation
Choosing an inverter is less about brand glamour and more about matching a device to how you want your system to behave; compare what you need now versus what you might need in five years. Start by thinking in pairs: export-control versus backup priority, AC-coupled versus DC-coupled, string inverter with battery-ready firmware versus a dedicated hybrid unit. If you already use a home energy management system, note how it expects to talk to the inverter—some platforms assume the inverter will handle battery dispatch, others expect to do that decision-making itself.
Step 1 — Define real needs and performance trade-offs
List three core goals: (1) full-house backup for short blackouts, (2) partial backup plus grid savings, or (3) grid-export optimization. These choices change the inverter you should pick. Quantify: required continuous backup power (kW), peak starting loads (motor-driven devices), daily battery throughput (kWh), and whether export should be limited. Compare outcomes: higher continuous power needs push toward larger inverter ratings; export-limited setups need firmware that supports dynamic export control.
Step 2 — Compare inverter topologies and what each does best
Contrast the common architectures and their practical strengths: DC-coupled hybrid: better round-trip efficiency when pairing new PV and battery systems; AC-coupled battery add-ons: easier retrofit and simpler PV expansion; Multi-mode hybrid inverters: combine MPPT PV input plus battery management for neat wiring and centralized control. For each, check: peak vs continuous output, number of MPPTs, surge capability, and whether the unit supports seamless UPS-mode transfer. Choose by matching topology to your priorities—efficiency, retrofit simplicity, or centralized control.
Step 3 — Match battery chemistry, voltage, and communication
Compare batteries by chemistry and how the inverter supports them: lithium iron phosphate (LFP) and NMC are common; LFP tolerates deeper cycles and longer calendar life. Match nominal battery voltage (48 V vs higher-voltage stacks) to the inverter’s supported voltage range. Check communication: some inverters require a proprietary CAN or RS485 link; others use Modbus or open API. If you want automated dispatch from a third-party controller, confirm protocol compatibility and whether the inverter trusts the battery’s BMS. Efficiency and round-trip losses matter—compare quoted inverter efficiencies and manufacturers’ round-trip figures for the complete inverter + battery pairing.
Step 4 — Controls, monitoring, and system integration
Compare how inverters expose control: local web UI, cloud platform, or open API. Prioritize units that provide clear telemetry (instant SOC, PV generation, grid import/export) and robust setpoint controls (charge/discharge limits, time-of-use schedules). If you plan coordinated control across PV, battery and loads, integrate through a smart energy management system that supports setpoint overrides and demand response. Installers in California commonly pair inverters with third-party EMS platforms to meet export rules and utility programs—use that real-world pattern as a model for integrating grid constraints into daily dispatch.
Step 5 — Safety, standards, warranties and long-run economics
Compare safety standards and warranty terms: look for UL 1741 / IEEE 1547 compliance and battery warranty coverage in cycles and years. Consider throughput warranties (total energy cycled) and whether the inverter’s warranty depends on using approved batteries. Calculate cost per useful kWh: inverter cost plus expected replacement window divided by expected cycles and efficiency losses. A slightly more expensive inverter that reduces losses or extends battery life often wins on total cost of ownership.
Common mistakes, contrasted with better choices
Avoid picking on price alone; low-cost units may lack required grid controls or have opaque communications. Don’t assume any inverter labeled “hybrid” supports seamless UPS — compare transfer time specs. Don’t ignore BMS compatibility; a mismatch can prevent proper charging or void warranties. Better choices: pick units with clear protocol support, conservative thermal ratings for your climate, and modular options if you plan future PV or battery expansion.
Quick comparative checklist before you sign
Run this checklist as a side-by-side comparison: 1) Continuous and peak power ratings; 2) MPPT count and PV input limits; 3) Supported battery voltages and chemistries; 4) Communication protocols and API access; 5) Transfer times and backup mode behavior; 6) Safety certifications and warranty scope. Mark the top two in each row to see which inverter consistently outperforms the alternatives against your needs.
Synthesis and practical closing
Make decisions by comparing the behaviors you need rather than chasing brand names: prioritize the inverter that aligns with your backup goals, battery chemistry, communications, and long-term cost metrics. That comparative clarity leads to predictable performance and easier integration with system-level controllers—exactly the outcome delivered when installers pair hardware thoughtfully with platforms like Ktech.